下载 JSON 工作流
在 Comfy Cloud 上运行
使用下面的图片作为输入 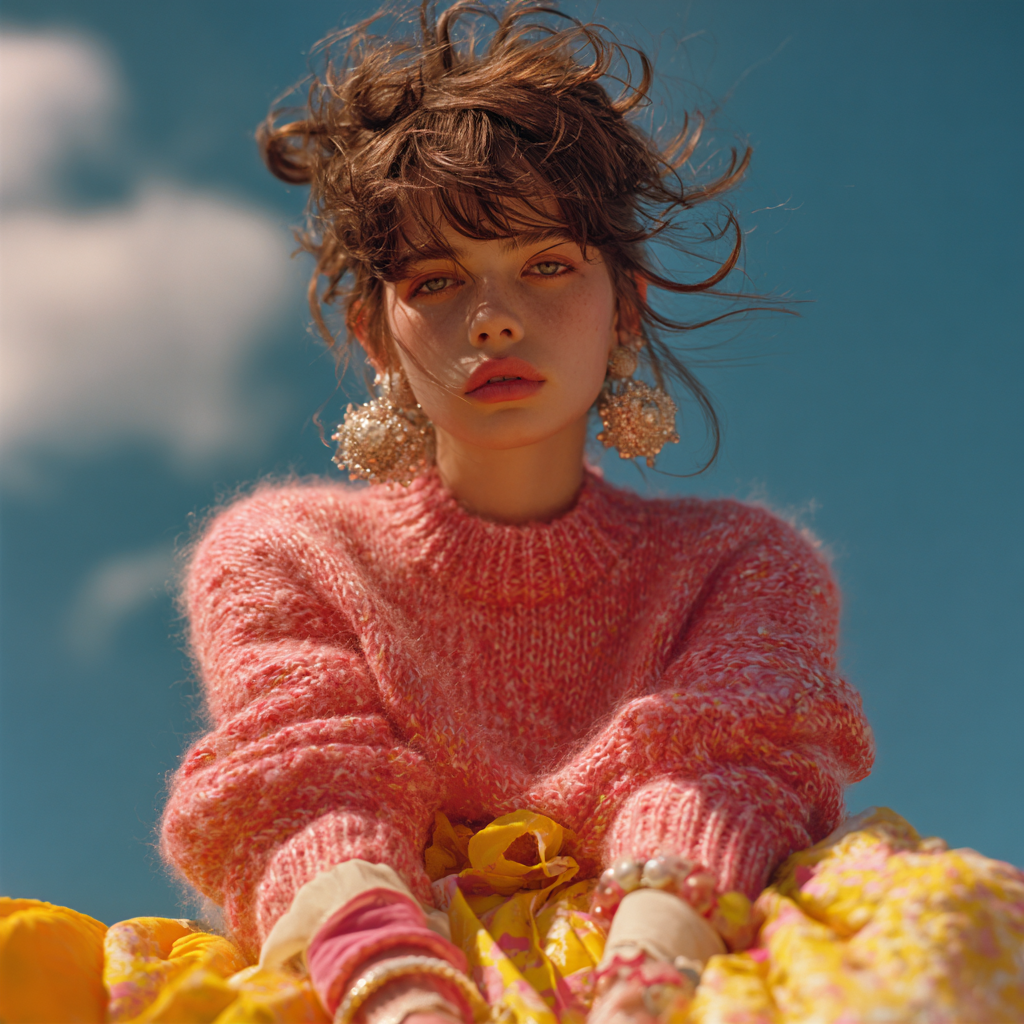 ### 2. 模型链接 **checkpoints** * [flux1-dev-fp8.safetensors](https://huggingface.co/Comfy-Org/flux1-dev/resolve/main/flux1-dev-fp8.safetensors) **loras** * [uso-flux1-dit-lora-v1.safetensors](https://huggingface.co/Comfy-Org/USO_1.0_Repackaged/resolve/main/split_files/loras/uso-flux1-dit-lora-v1.safetensors) **model\_patches** * [uso-flux1-projector-v1.safetensors](https://huggingface.co/Comfy-Org/USO_1.0_Repackaged/resolve/main/split_files/model_patches/uso-flux1-projector-v1.safetensors) **clip\_visions** * [sigclip\_vision\_patch14\_384.safetensors](https://huggingface.co/Comfy-Org/sigclip_vision_384/resolve/main/sigclip_vision_patch14_384.safetensors) 请下载所有模型并将它们放置在以下目录中: ``` 📂 ComfyUI/ ├── 📂 models/ │ ├── 📂 checkpoints/ │ │ └── flux1-dev-fp8.safetensors │ ├── 📂 loras/ │ │ └── uso-flux1-dit-lora-v1.safetensors │ ├── 📂 model_patches/ │ │ └── uso-flux1-projector-v1.safetensors │ ├── 📂 clip_visions/ │ │ └── sigclip_vision_patch14_384.safetensors ``` ### 3. 工作流说明 1. 加载模型:
* 1.1 确保 `Load Checkpoint` 节点已加载 `flux1-dev-fp8.safetensors`
* 1.2 确保 `LoraLoaderModelOnly` 节点已加载 `dit_lora.safetensors`
* 1.3 确保 `ModelPatchLoader` 节点已加载 `projector.safetensors`
* 1.4 确保 `Load CLIP Vision` 节点已加载 `sigclip_vision_patch14_384.safetensors`
2.
* 2.1 点击 `Upload` 上传我们提供的输入图像
* 2.2 `ImageScaleToMaxDimension` 节点将会缩放你的输入图像用于内容参考,512px 会保留更多的角色特征,但如果你仅使用角色头部作为输入,最终输出图像往往会有角色占据太多空间的问题(或者结果很糟)。设置为 1024px 会得到更好的结果。
3. 在示例中,我们只使用 `content reference` 图像输入。如果你想使用 `style reference` 图像输入,可以使用 `Ctrl+B` 绕过标记的节点组。
4. 编写你的提示词或保持默认设置
5. 如果需要调整输出图像尺寸
6. EasyCache 节点用于推理加速,但也会牺牲一些质量和细节。如果不需要使用,可以用 `Ctrl+B` 绕过它。
7. 点击 `Run` 按钮,或使用快捷键 `Ctrl(Cmd) + Enter` 运行工作流
### 4. 补充说明
1. 仅使用风格参考:
我们在同一个工作流中也提供了仅使用风格参考的版本
1. 加载模型:
* 1.1 确保 `Load Checkpoint` 节点已加载 `flux1-dev-fp8.safetensors`
* 1.2 确保 `LoraLoaderModelOnly` 节点已加载 `dit_lora.safetensors`
* 1.3 确保 `ModelPatchLoader` 节点已加载 `projector.safetensors`
* 1.4 确保 `Load CLIP Vision` 节点已加载 `sigclip_vision_patch14_384.safetensors`
2.
* 2.1 点击 `Upload` 上传我们提供的输入图像
* 2.2 `ImageScaleToMaxDimension` 节点将会缩放你的输入图像用于内容参考,512px 会保留更多的角色特征,但如果你仅使用角色头部作为输入,最终输出图像往往会有角色占据太多空间的问题(或者结果很糟)。设置为 1024px 会得到更好的结果。
3. 在示例中,我们只使用 `content reference` 图像输入。如果你想使用 `style reference` 图像输入,可以使用 `Ctrl+B` 绕过标记的节点组。
4. 编写你的提示词或保持默认设置
5. 如果需要调整输出图像尺寸
6. EasyCache 节点用于推理加速,但也会牺牲一些质量和细节。如果不需要使用,可以用 `Ctrl+B` 绕过它。
7. 点击 `Run` 按钮,或使用快捷键 `Ctrl(Cmd) + Enter` 运行工作流
### 4. 补充说明
1. 仅使用风格参考:
我们在同一个工作流中也提供了仅使用风格参考的版本
 唯一的区别是我们替换了 `content reference` 节点,仅使用 `Empty Latent Image` 节点来创建一个我们需要的图像大小
2. 你也可以 **绕过(Ctrl+B)** 整个 `Style Reference` 组,将工作流用作文本到图像的工作流,也就是这个文本存在 4 个变体
* 仅使用内容(主体)参考
* 仅使用风格参考
* 混合内容及风格参考
* 作为文生图工作流
唯一的区别是我们替换了 `content reference` 节点,仅使用 `Empty Latent Image` 节点来创建一个我们需要的图像大小
2. 你也可以 **绕过(Ctrl+B)** 整个 `Style Reference` 组,将工作流用作文本到图像的工作流,也就是这个文本存在 4 个变体
* 仅使用内容(主体)参考
* 仅使用风格参考
* 混合内容及风格参考
* 作为文生图工作流