JSON ワークフローをダウンロード
Comfy Cloud で実行
以下の画像を入力画像として使用します。 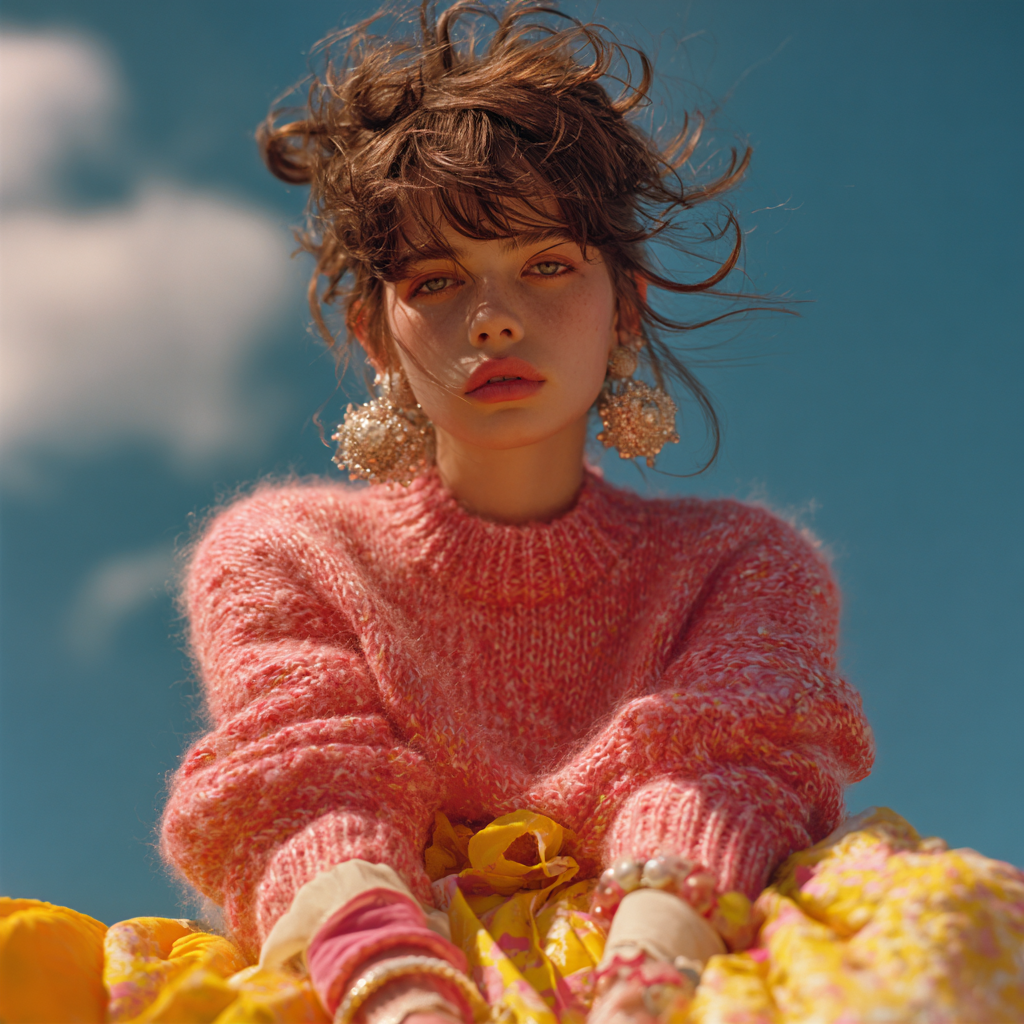 ### 2. モデルのダウンロードリンク **checkpoints** * [flux1-dev-fp8.safetensors](https://huggingface.co/Comfy-Org/flux1-dev/resolve/main/flux1-dev-fp8.safetensors) **loras** * [uso-flux1-dit-lora-v1.safetensors](https://huggingface.co/Comfy-Org/USO_1.0_Repackaged/resolve/main/split_files/loras/uso-flux1-dit-lora-v1.safetensors) **model\_patches** * [uso-flux1-projector-v1.safetensors](https://huggingface.co/Comfy-Org/USO_1.0_Repackaged/resolve/main/split_files/model_patches/uso-flux1-projector-v1.safetensors) **clip\_visions** * [sigclip\_vision\_patch14\_384.safetensors](https://huggingface.co/Comfy-Org/sigclip_vision_384/resolve/main/sigclip_vision_patch14_384.safetensors) 上記すべてのモデルをダウンロードし、以下のディレクトリ構造に配置してください: ``` 📂 ComfyUI/ ├── 📂 models/ │ ├── 📂 checkpoints/ │ │ └── flux1-dev-fp8.safetensors │ ├── 📂 loras/ │ │ └── uso-flux1-dit-lora-v1.safetensors │ ├── 📂 model_patches/ │ │ └── uso-flux1-projector-v1.safetensors │ ├── 📂 clip_visions/ │ │ └── sigclip_vision_patch14_384.safetensors ``` ### 3. ワークフローの操作手順 1. モデルの読み込み:
* 1.1 `Load Checkpoint` ノードに `flux1-dev-fp8.safetensors` が正しく読み込まれていることを確認
* 1.2 `LoraLoaderModelOnly` ノードに `dit_lora.safetensors` が正しく読み込まれていることを確認
* 1.3 `ModelPatchLoader` ノードに `projector.safetensors` が正しく読み込まれていることを確認
* 1.4 `Load CLIP Vision` ノードに `sigclip_vision_patch14_384.safetensors` が正しく読み込まれていることを確認
2. コンテンツ参照(主体参照):
* 2.1 `Upload` をクリックして、提供済みの入力画像をアップロード
* 2.2 `ImageScaleToMaxDimension` ノードが入力画像をコンテンツ参照用にスケーリングします。512px ではキャラクターの特徴をより多く保持できますが、入力としてキャラクターの顔のみを使用する場合、出力画像でキャラクターが画面を過剰に占めてしまう(または品質が低下する)問題が生じることがあります。1024px に設定すると、より良好な結果が得られます。
3. この例では、`content reference`(コンテンツ参照)の画像入力のみを使用しています。`style reference`(スタイル参照)の画像入力を使用したい場合は、マーカー付きノードグループを `Ctrl+B` でバイパスできます。
4. プロンプトを自由に記述するか、デフォルトのまま使用
5. 必要に応じて出力画像サイズを設定
6. `EasyCache` ノードは推論速度の向上を目的としていますが、画質およびディテールの一部を犠牲にします。不要な場合は `Ctrl+B` でバイパス可能です。
7. `Run` ボタンをクリックするか、ショートカット `Ctrl(Cmd) + Enter` を使用してワークフローを実行
### 4. 補足情報
1. スタイル参照のみのワークフロー:
同一のワークフロー内に、スタイル参照のみを用いるバージョンも提供しています。
1. モデルの読み込み:
* 1.1 `Load Checkpoint` ノードに `flux1-dev-fp8.safetensors` が正しく読み込まれていることを確認
* 1.2 `LoraLoaderModelOnly` ノードに `dit_lora.safetensors` が正しく読み込まれていることを確認
* 1.3 `ModelPatchLoader` ノードに `projector.safetensors` が正しく読み込まれていることを確認
* 1.4 `Load CLIP Vision` ノードに `sigclip_vision_patch14_384.safetensors` が正しく読み込まれていることを確認
2. コンテンツ参照(主体参照):
* 2.1 `Upload` をクリックして、提供済みの入力画像をアップロード
* 2.2 `ImageScaleToMaxDimension` ノードが入力画像をコンテンツ参照用にスケーリングします。512px ではキャラクターの特徴をより多く保持できますが、入力としてキャラクターの顔のみを使用する場合、出力画像でキャラクターが画面を過剰に占めてしまう(または品質が低下する)問題が生じることがあります。1024px に設定すると、より良好な結果が得られます。
3. この例では、`content reference`(コンテンツ参照)の画像入力のみを使用しています。`style reference`(スタイル参照)の画像入力を使用したい場合は、マーカー付きノードグループを `Ctrl+B` でバイパスできます。
4. プロンプトを自由に記述するか、デフォルトのまま使用
5. 必要に応じて出力画像サイズを設定
6. `EasyCache` ノードは推論速度の向上を目的としていますが、画質およびディテールの一部を犠牲にします。不要な場合は `Ctrl+B` でバイパス可能です。
7. `Run` ボタンをクリックするか、ショートカット `Ctrl(Cmd) + Enter` を使用してワークフローを実行
### 4. 補足情報
1. スタイル参照のみのワークフロー:
同一のワークフロー内に、スタイル参照のみを用いるバージョンも提供しています。
 \
唯一の違いは、`content reference` ノードを `Empty Latent Image` ノードに置き換え、必要な画像サイズを生成することです。
2. また、`Style Reference` グループ全体を `Ctrl+B` でバイパスすることで、このワークフローをテキストから画像を生成する(text-to-image)ワークフローとしても利用可能です。つまり、本ワークフローには以下の4種類のバリエーションがあります:
* コンテンツ(主体)参照のみを使用
* スタイル参照のみを使用
* コンテンツ参照とスタイル参照を併用
* テキストから画像を生成する(text-to-image)ワークフローとして使用
\
唯一の違いは、`content reference` ノードを `Empty Latent Image` ノードに置き換え、必要な画像サイズを生成することです。
2. また、`Style Reference` グループ全体を `Ctrl+B` でバイパスすることで、このワークフローをテキストから画像を生成する(text-to-image)ワークフローとしても利用可能です。つまり、本ワークフローには以下の4種類のバリエーションがあります:
* コンテンツ(主体)参照のみを使用
* スタイル参照のみを使用
* コンテンツ参照とスタイル参照を併用
* テキストから画像を生成する(text-to-image)ワークフローとして使用